Table of contents
Announcing Databox for Developers!
Ask and you shall receive. After oodles of excited inquiries, we’re pumped to announce the launch of Databox for Developers!
With this launch, we’ve made it really easy for you to push custom data to Databox. Now you, our awesome developer community, can find all the information you need, all in one place, to connect any data source to Databox and build your own beautiful mobile KPI dashboards. That means you’ll be able to deliver addictive, attention-grabbing visualizations, alerts and notifications, and take advantage of all the power in the Databox platform with just a few lines of code.
So what’s the scoop?
First and foremost, there’s no special developer’s account needed. Just visit developers.databox.com and you’ll find everything you need to get started. With our simple REST API and SDKs, just pick your favorite language (Java, PHP, Ruby, Node.js, GO, or Python) and you’ll be able to connect any data source in minutes. Really.

Want a quick preview?
Here’s a quick overview of what it takes to get started as a Databox Developer. And of course, all the details are available on our Databox for Developers site.
1. Create a Databox account
If you don’t have your Databox account yet, you can sign-up here. You don’t need a special developers account, so if you already have one, you’re ready to skip to the next step.
2. Get your Token
You’ll need an API token to send us data. Every account comes with a pre-assigned (‘Default’) token which can be found in the Databox Designer web app under ‘Data Manager’ > ‘Active data connections’ as shown below:

Your token is also shown during account setup when you choose to push your own data instead of selecting a connector.
3. Send your data
Ok, now you can send us data. Here are a few different ways to do that:
- (recommended) using our SDKs;
- through the Terminal Panel in the Databox Designer or
- directly from a command line with executing a cURL as shown below:
curl https://push.databox.com
-u YOUR_TOKEN_GOES_HERE:
-X POST
-H 'Content-Type: application/json'
-d '{
  "data":[
    {
      "$sales": 123000
    }
  ]
}'
The example above will create a metric called ‘Sales’ under the ‘Default’ data source. This is a very basic example, you can also push additional information, such as a timestamps and attributes.
4. See your data
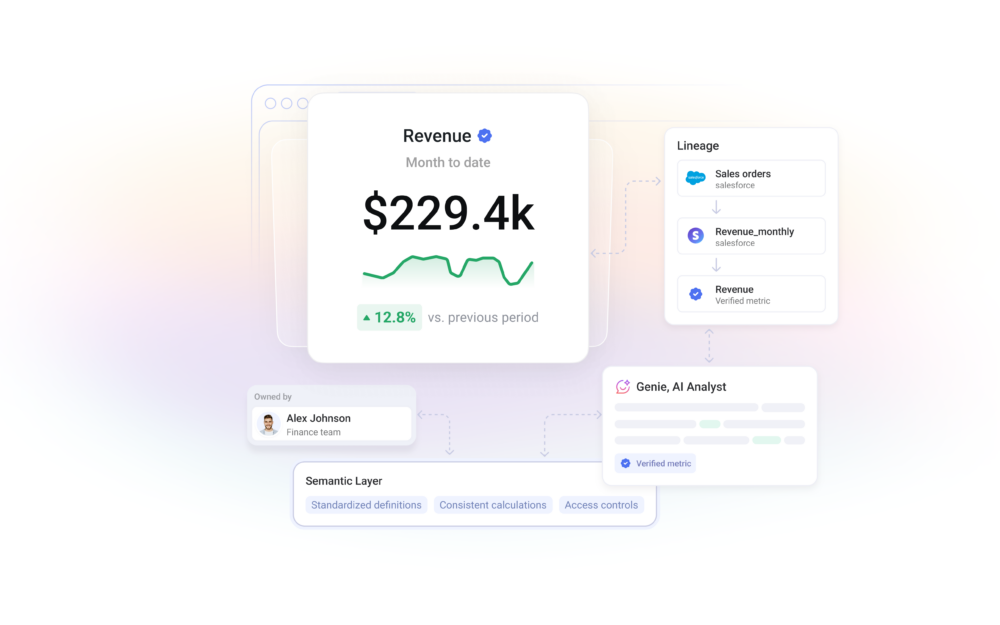
Now you need to create a visualization for the data you just sent us. We present data on so called ‘Datacards.’ They consist of individual visualizations (e.g. pie chart, table, line chart, etc.) called ‘Datablocks.’
So first create a new Datacard, open the Datablocks tab on the left side and drag a ‘Number’ Datablock to your Datacard.

In properties panel on the right, select the appropriate data source (‘Default’ in this case) and the metric you have just sent (‘Sales’).

Voila, that’s it! Now just download the Databox Mobile app, log in with your credentials, and check out your very own beautiful new KPI dashboard!
If you get stuck at any point, please don’t hesitate to reach out to us — we’d be happy to help!