Track all of your key business metrics from one screen
GET STARTED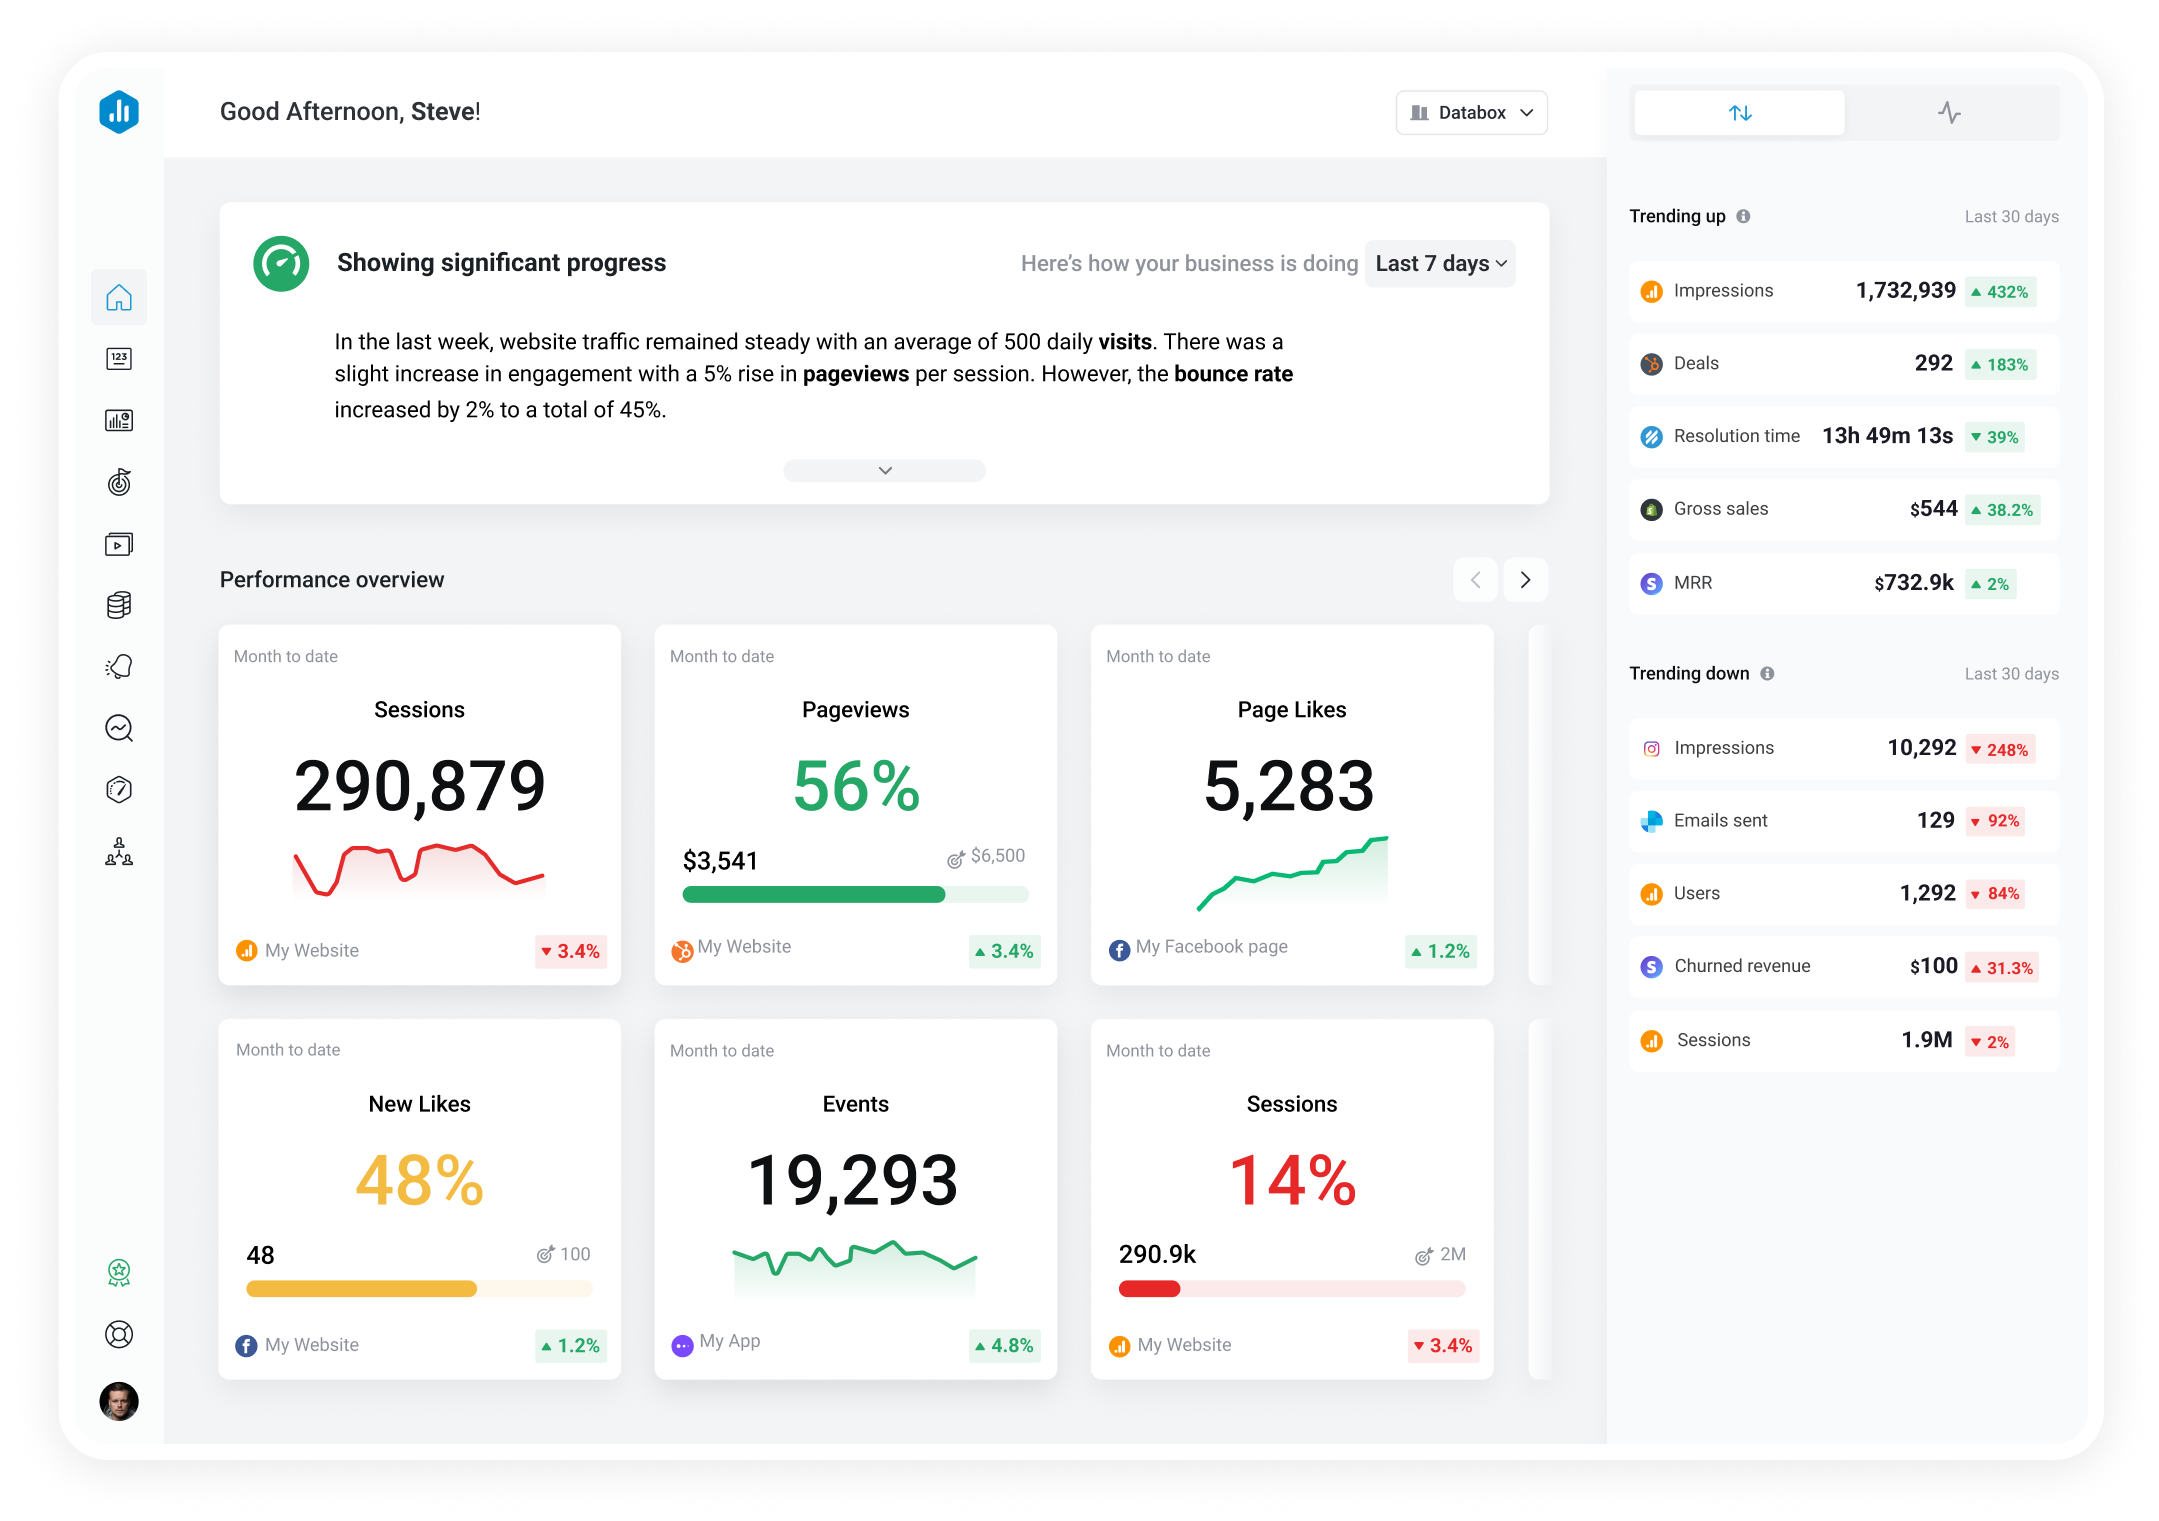

Create beautiful interactive dashboards you can share with your team using your Excel data.
Show more...
Show more...
Show more...
To ensure compatibility with Databox, durations formatted as [hh]:[mm]:[ss] should be converted into seconds in your spreadsheet, as Databox only recognizes time durations in seconds. After conversion, Databox will automatically aggregate the time into minutes and hours based on your selected format. You can learn more about how to convert durations to seconds in your spreadsheet here.
This issue may arise if your spreadsheet’s locale settings don’t match the format used in the cells. Date and number formats vary across regions, so adjusting your file’s locale settings ensures that the date and number formats align with your region. This leads to a consistent and clear presentation of dates and numbers in Databox.
For example, consider the date December 5th, 2023:
Learn more how to modify your spreadsheet locale settings here.
For Excel files (via Google Drive) Databox does not enforce file size or number of cells limits. However, Google does have limits in place for their API. Google allows 10 MB file downloads and the files themselves have a 10 million cell limit. An Excel file exceeding either one of those limits will not work in Databox.
For Excel files (via One Drive), Excel (via Dropbox), and Excel File Upload, Microsoft and Dropbox APIs as well as Databox don’t enforce file and cells limits, such as those mentioned above, so it is possible to use larger files. However, the bigger the file is, the more resources it will take to process all the data from it.
Therefore, users should be aware that connecting large files can cause issues. Namely, Databox infrastructure enforces limits on how long an action can take in Metric Builder. For example, timeouts can occur if it takes too long to pull data or if too many resources (CPU/RAM) are used to load the file and calculate the metric values.
In a spreadsheet, vertical orientation means organizing data into columns, where each column represents a specific category or attribute, and individual entries or records are placed in rows within these columns.
In horizontal orientation, data is organized across columns, with each column representing a unique entry or category. Specific information within those entries is then arranged vertically, with different rows containing various attributes or details for each entry.
In Databox:
Databox requires that the value in a cell is defined as a number and when a cell displays #DIV/0 (divide by zero) error, the value assigned to this in Databox is number 7.
We advise users to handle division by 0 in their sheet directly. There are multiple ways to do this, here are some examples:
How to correct a #DIV/0! error
How to fix the #DIV/0! error
This issue may occur if dates are not correctly entered in the cells. Dates should be formatted as complete dates, including the day, month, and year, rather than just the month and year or only the month. For detailed guidelines on proper date formatting, refer to the ‘Requirements regarding date formatting’ section in the Behavior & usage tab.
Columns that contain words such as Today, Yesterday, Tomorrow, Next Year, Last Year, Next Month, Last Month, etc., will be recognized as Date instead as Dimension in Metric Builder Wizard due to parsing limitation. As consequence, they can not be used as Dimensions in Wizard.
Columns containing words like Today, Yesterday, Tomorrow, Next Year, Last Year, Next Month or Last Month are automatically recognized as Date fields instead of dimensions in the metric builder Wizard due to parsing limitations. Consequently, these columns cannot be used as Dimensions within the Wizard.
Workaround
Create metrics using the manual setup, where such columns can be selected as dimensions:
How to switch between Manual Setup and the Wizard in Google Sheets
How to switch between Manual Setup and the Wizard in Excel
Databox does not validate all rows when determining whether a column contains numbers, text, or dates. To provide a quick preview in the metric builder, only the first 50 rows are checked. As a result, if a column lacks numeric values within the first 50 rows, it will not be identified as numeric and will default to being treated as a dimension.
Additionally, empty cells are interpreted as empty strings (“”), regardless of whether a ‘number’ format has been set for the cell. An empty cell with a numeric format but no value is also treated as an empty string, not as a numeric value.
Users should avoid leaving empty cells within the top 50 rows of any column in the source document if data is present in cells below the 50th row of the same column.
To address this, it is recommended to populate all empty cells with appropriate values, such as 0.00 or any other numeric value suitable for the specific use case.
We strongly recommend ensuring that all dates in your spreadsheet are recognized as dates—either automatically, based on locale settings, or manually by applying custom date formats that override locale settings. This approach greatly reduces the likelihood of encountering issues later on.
If a date string is not recognized by the document, Databox will attempt to validate it against common standards like ISO 8601 and RFC 2822.
We recommend adopting popular date formats, such as:
YYYY-MM-DD
MM/DD/YYYY
DD/MM/YYYY
December 4, 2023
4 December, 2023
In this help article, you can learn how to check if a date format is properly set for the usage in Databox.
Click Refresh Sheets Data in Google Sheets or Excel metric builder to view the latest data from your document. This is particularly useful if you’ve recently made changes to your sheet. Doing so will also update the preview and data for all existing custom metrics.
Workbook files large in size and by number of cells and using additional styles/formatting/images in worksheets can cause longer loading times in the Metric Builder. In such cases, users are advised to:
– Remove all images from the Excel file that is connected with Databox.
– Split large Excel files into several smaller files and connect them separately in Databox.
– Do not include custom formatting in the workbook – this includes customized fonts, bolding, adjusting the alignment, colors, etc.
– Aggregate values in your Excel worksheet to decrease the file size by following these instructions. You should do this in a new workbook in order to keep an original copy of your data. This can help reduce the file size of the Excel workbook that you want to connect to Databox.
Databox imposes a limitation on the maximum number of digits a numeric value can have, as outlined in this help article. To ensure proper functionality in Databox, all numeric values must adhere to the following criteria:
The frequency of the sync schedule in Databox depends on several factors, including your Databox Plan and account activity. You can find more details in this article.
Excel custom metrics are updated only when new data is added or existing data is modified within the cells included in the custom metric. Databox checks for changes in your worksheet every hour and syncs the data when updates are detected.
The data sync relies on the ‘Last saved’ timestamp of your Excel worksheet file. To view this information, go to Saved to OneDrive (or other cloud storage) > Save status > Last saved.
If your Excel workbook is automatically updated using scripts or similar solutions, the ‘Last saved’ timestamp may not refresh. In such cases, Databox will not detect the new data, and the sync process will not occur. To ensure updates are recognized, make sure the file’s ‘Last saved’ status is properly refreshed.
If your Excel Data Source is updated automatically, you can trigger a data sync in Databox using one of the following methods:
1) Manually Update the Excel Worksheet
2) Automate Updates Using Zapier
These methods help ensure your automated Excel updates are properly detected by Databox.
In some cases, users may want to apply filters to their reports to include or exclude specific data, helping them focus on the most relevant information for their analysis. However, Databox currently does not support filtering data after it has been imported. As a result, any necessary filtering must be done directly in the spreadsheet before creating the Metric in Databox.
Powerful tools for extracting specific subsets of data from a sheet, table, or range of cells include the QUERY() function in Google Sheets and the FILTER() function in Excel. Learn more about how to use these functions here.
Check if the sheet/tab contains a Pivot table. Pivot Tables are currently not supported and cannot be synced with Databox, hence they will appear empty in Metric Builder.
Sometimes, spreadsheet entries contain extra spaces, which can create duplicates. For example, you might have two dimensions: ‘Closed Won’ (without a space after the ‘n’) and ‘Closed Won ‘ (with a space after the ‘n’). Although they may look identical in Databox, they will appear as two separate dimensions because the system treats spaces as characters, recognizing them as distinct entries.
Users can use the ‘Find and Replace’ feature in their spreadsheet to correct dimension names. For example, they can replace ‘Closed Won ‘ (with a space) with ‘Closed Won’ (without the space).
By default, Databox allows viewing data up to 10 years in the past and 2 years in the future for spreadsheet documents. When the ‘All Time’ date range is selected for, it will display data within this -10 to +2-year range. This limitation also applies to any other date range confined within these boundaries.
However, if the spreadsheet document contains dates beyond this range, they will be pulled, stored in the Databox warehouse, and displayed when a broader date range is selected, such as ‘Last 20 Years’ or a custom range that exceeds the -10 to +2-year limit. Once such a range is selected for a metric containing data beyond the default boundaries, the ‘All Time’ date range will automatically include and display the extended data for that specific metric.
As described in Units help article, Databox automatically recognizes numbers formatted in specific currencies, such as the United States Dollar ($), Euro (€), British Pound Sterling (£), Japanese Yen (¥), and Russian Ruble (₽). For other currency formats, their symbols will appear in the Unit selector within the app instead of the standard three-letter codes like USD or EUR.
If a custom currency format is not recognized or supported, use the number format instead and configure the desired currency format through Databox Advanced Settings. You can find more information about currency formatting in articles on Google Sheets and Excel.
For other measurement units (e.g., weight, duration, speed), it’s recommended to remove unit labels from the cells containing values and instead use Databox in-app formatting functionality to display the appropriate unit.
Only .xls and .xlsx file formats are supported in the Excel integration in Databox. If your file is in any other format, such as CSV, HTML, or text file, you can save it in .xlsx Excel format (as explained in this Microsoft article) and connect it to Databox.
To connect an Excel file in Databox, the individual file must be shared directly with the user connecting the file. Files that were shared with a user on the Folder level (inside Folders) will not be listed in Databox in the process of connecting and cannot be connected in Databox by the shared user.
There are two possible causes preventing connection of an Excel file via OneDrive in Databox.
1) Since the Excel integration in Databox supports OneDrive Personal (‘Basic’) and not OneDrive for Business (associated with Microsoft SharePoint), connecting Excel files that are stored in SharePoint is currently not supported in Databox. It is on Databox’s roadmap to enable connecting Excel files that are stored in SharePoint. You can upvote this improvement on Databox roadmap here.
2) The Excel integration in Databox supports basic OneDrive available through Microsoft Account. To connect files, the individual file must be shared directly with the user connecting the file. Files that were shared with the user on the Folder level will not be listed in Databox during the connection flow and cannot be connected in Databox by the shared user.
If the special characters ‘!’ or ‘:’ are used in the worksheet tab name of the Excel file, custom metric can not be saved or viewed because those are characters reserved for A1 notation.
This can be resolved in two ways:
1) rename the tab, so that the tab name will not use any of the two characters (!, : ), or
2) if the data from the same tab is also used in formulas in other tabs or other Excel files, duplicate / replicate the same tab as a new worksheet tab with a different name (one that does not use any of the two characters). Replication can be done by using: =, or Move / copy worksheets or worksheet data.
This error occurs when a 5XX server error is encountered on the API provider’s side. These errors are typically resolved automatically unless the API provider is experiencing technical issues. In most cases, refetching the metrics, previewing them through the Metric Builder, or refreshing the page/account should help resolve the issue.
The ‘Missing spreadsheet’ error occurs when a specific tab in a spreadsheet has been renamed or deleted after a custom spreadsheet metric has been created using data from that tab. To resolve this issue, users must edit the custom metric and select the relevant tab with the new name for the metric. If a tab has been deleted, it will need to be recreated in the spreadsheet, and the custom metric must be updated to reference the new tab.
To avoid such errors, it is recommended that users refrain from renaming or deleting tabs after creating custom metrics in Databox. If changes to the spreadsheet are necessary, users should make these adjustments in parallel with updating the corresponding custom metrics in Databox to ensure a smooth transition.
Compare
Databox Inc.
HQ: Boston, MA, USA
AI-powered analytics for teams that need answers now.
Databox Inc.
HQ: Boston, MA, USA

AI-powered analytics for teams that need answers now.


Compare